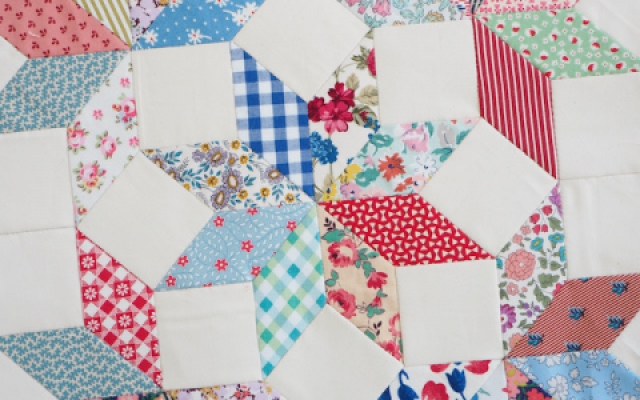
Diamonds open up so many possibilities for English Paper Piecing and they tessellate to lots of other shapes. Generally the wider the angle of the diamond, the easier and more straight forward the shape is to sew.
We offer diamonds in a wide range of shapes, and refer to them by the number of diamonds that make up a star shape when joined together. i.e. 6-point diamond = 6 diamonds joined together make up a star. A 10-point diamond = 10 diamonds joined together make up a star. So a 10-point diamond would be more tricky to piece accurately as opposed to a 6-point diamond.

Tails (so called ‘dog ears’) are created when the fabric seam allowance reaches a sharp point. You must leave the excess fabric in place, a small trim is fine but more often than not it’s not required. If you cut off the tails your work can be compromised and will eventually create a hole.
As mentioned in the basting section it is helpful to baste in the same direction for each shape you work with, this will become second nature after practise. Basting in the same direction ensures that all your tails will point in the same direction and create a neat fan effect on the back of the work when working with diamonds or other sharp points. Basting in different directions can lead to unnecessary bulk, sometimes this is unavoidable when joining in other shapes to a larger piece – but best avoided where possible. Excess bulk created by haphazard points will lead to tails getting in the way and make lining up pieces more difficult. Tails can then get caught up in the whipstitches which will lead to gaps and seam allowances being shown on the front.
Please note the photos below are completed by left-hander so all stitching is done in a left to right fashion. If you are right-handed it is assumed you will find it more comfortable to work from right to left.

Swipe the glue along the paper (for reference I have glued too close to the edge of the paper here! Avoid glueing this close to the edge).

Begin with the wider angle of the diamond first.
Fold fabric side down, and repeat glueing and folding for the next side.

Glue the next side, and fold the fabric over.

If the tail is a little loose after folding and glueing the side. Dot some glue inside the fold of the fabric and press to hold it's shape.

Side now neatly folded and in place.

Finished basted diamond.

Starting with the wider angle of the diamond, fold over two sides and push your needle through the fold of the fabric. Pull through (leave a tail of thread at the start, no need to knot).

Push your needle through the same place, and out the same place as before. Pull taut.

Repeat. You now have two basting stitches keeping this corner down firmly.

Fold over the next corner. Needle in the fabric fold, just as before.

Pull thread taut and repeat the stitch to hold the corner in place.

Repeat for the next corner.

Fold over the the final corner, be mindful that the fabric tails are in the same direction.

Repeat basting stitches.

Finished basted shapes.

Place diamonds right sides together. Take your needle through both of the fabric shapes, being careful to catch only fibres of the fabric, not the paper template.

Needle in the same fabric piece side as the previous stitch, but continuing the stitches in an upward direction.

Continue whipstitching up the side.

Sew to the tip of the paper shape, you can feel this out with your fingers. Do not sew beyond the paper template shape. Move the tails out of the way so you can sew neatly to this point.

Two diamonds sewn together.

Here I have carried my thread when sewing in the next diamond. If you do this, sew the whipstitches over the top of the line of thread you have carried, that way it will act as extra stability.
I find it best to start from the outer position of the star you are creating and work my way to the tip in the middle.

Sew diamonds in two halves then join the two halves together. Ensure you have your halves lined up correctly when beginning sewing as this can throw off the finished shape. Sewing them continuously (not in halves) can lead to a small hole in the centre of your star if sewn in this manner.

When getting to the tricky centre part, move all the tails out of the way so you can ensure you get to the centre.

8-Point diamond star sewn together.


